Presets
Unity has its own Preset management system. The preset is the saved current state of the shader, in our case, the Flat Kit material. The presets are available across scenes and can be saved whenever you want inside the current project. For convenience, we saved the most useful presets inside a shared presets folder (Assets/FlatKit/PresetsShared). You can use them as a starting point for your own presets.
In Flat Kit you can find presets as .mat Material instances (that you can drag and drop on the objects) and .preset Unity Presets (saved states of shaders that you can recall from interface of already applied materials). The sets are identical. Unity presets (.preset) are great when you have a material (.mat) applied to lots of objects and you want to swap it with a preset you already have.
To save the preset, select the material or an object with this material you want to save, click on the ‘mixer’ icon on the top right of the shader interface on the Inspector panel. Then, the menu will pop up. Click ‘Save Current to…’. Then you choose the destination. Once created, you can move the actual file wherever you would like. All presets within a project will show up in the ‘Select Preset’ menu.
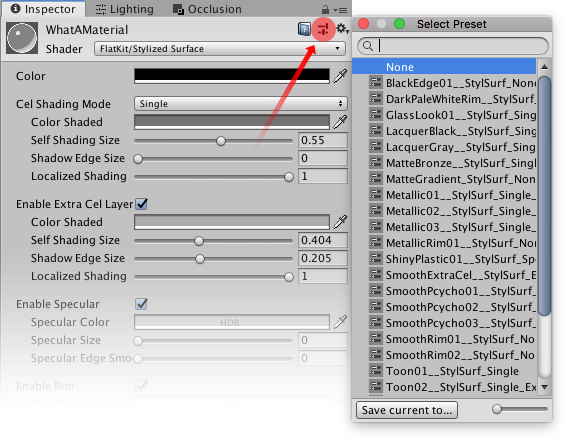
Preset menu. How to load.
Save, recall, experiment, discard bad results, save great results, all by using Unity’s preset system. You cat A/B this way and share the shader’s parameters across multiple separate materials. Scan through them and once you stumble upon something close to what you are looking for, adjust the one.
TIP. Naming the preset files as descriptive as possible is a gratifying practice. It would save your time later when you gather lots of them. It would be easier to navigate through them and distinguish between them, and also the proper names would remind you what you had in mind at the moment of saving the preset. Just look at the screenshot below.
Comments